Learn Power Apps Canvas Components By Making 5 Components

With Power Apps Canvas Components you can create a feature once and save time by re-using it again-and-again across multiple apps. I’ve personally saved myself hundreds of hours of coding with Power Apps components. Now, I want to teach you to do the same with my FREE course Learn Power Apps Canvas Components By Making 5 Components.
The best way to learn how-to-code components isn’t just by reading about them or by watching videos. That alone won’t work. You need to build components to master them. So that’s what we’re going to do. Together, we’ll make 5 real-world components that you can re-use in your own awesome apps. And spoiler alert! I’ll also share a few of my favorite pre-built components with you so you can steal them for yourself.
I’m Matthew Devaney, and I’m a Power Apps developer from Winnipeg, Canada. I work with my clients in the United States and Canada to build awesome Power Apps. I’m a self-taught programmer who got bored of working as a Certified Professional Accountant (CPA) and decided to switch careers. Now I’m a Microsoft MVP who helps others learn to code.
It’s time to level-up. Go ahead and get started on the first lesson below. If you have questions or get stuck leave me a message in the comments section. I want to make YOU successful at building Power Apps Canvas Components and I know you’re going to get alot out of this free course.
Table Of Contents:
1. Make Your First Power Apps Component (Temperature Conversion)
2. Make A Power Apps Navigation Menu Component
3. Make A Power Apps Pop-Up Menu Component
4. Make A Custom Function With Power Apps Canvas Components
5. Make A Power Apps Component Library

Bonus Content
• Progress Indicator Component
• Phone Number Input Mask Component
1. Make Your First Power Apps Component (Temperature Conversion)
What you’ll make:
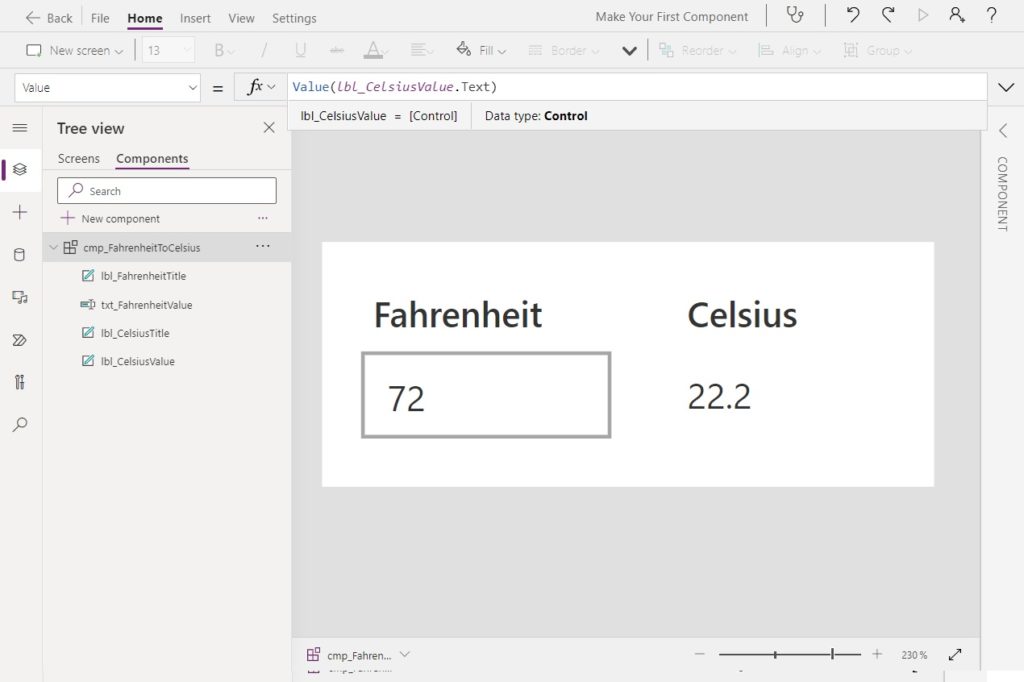
A simple temperature conversion component to change temperatures recorded in fahrenheit to celsius. This is an excellent first project to learn the basics of Power Apps canvas components.
What you’ll learn:
- Create a new Power Apps canvas component
- Input and output properties
- Insert a custom component into a canvas app
2. Make A Power Apps Navigation Menu Component
What you’ll make:
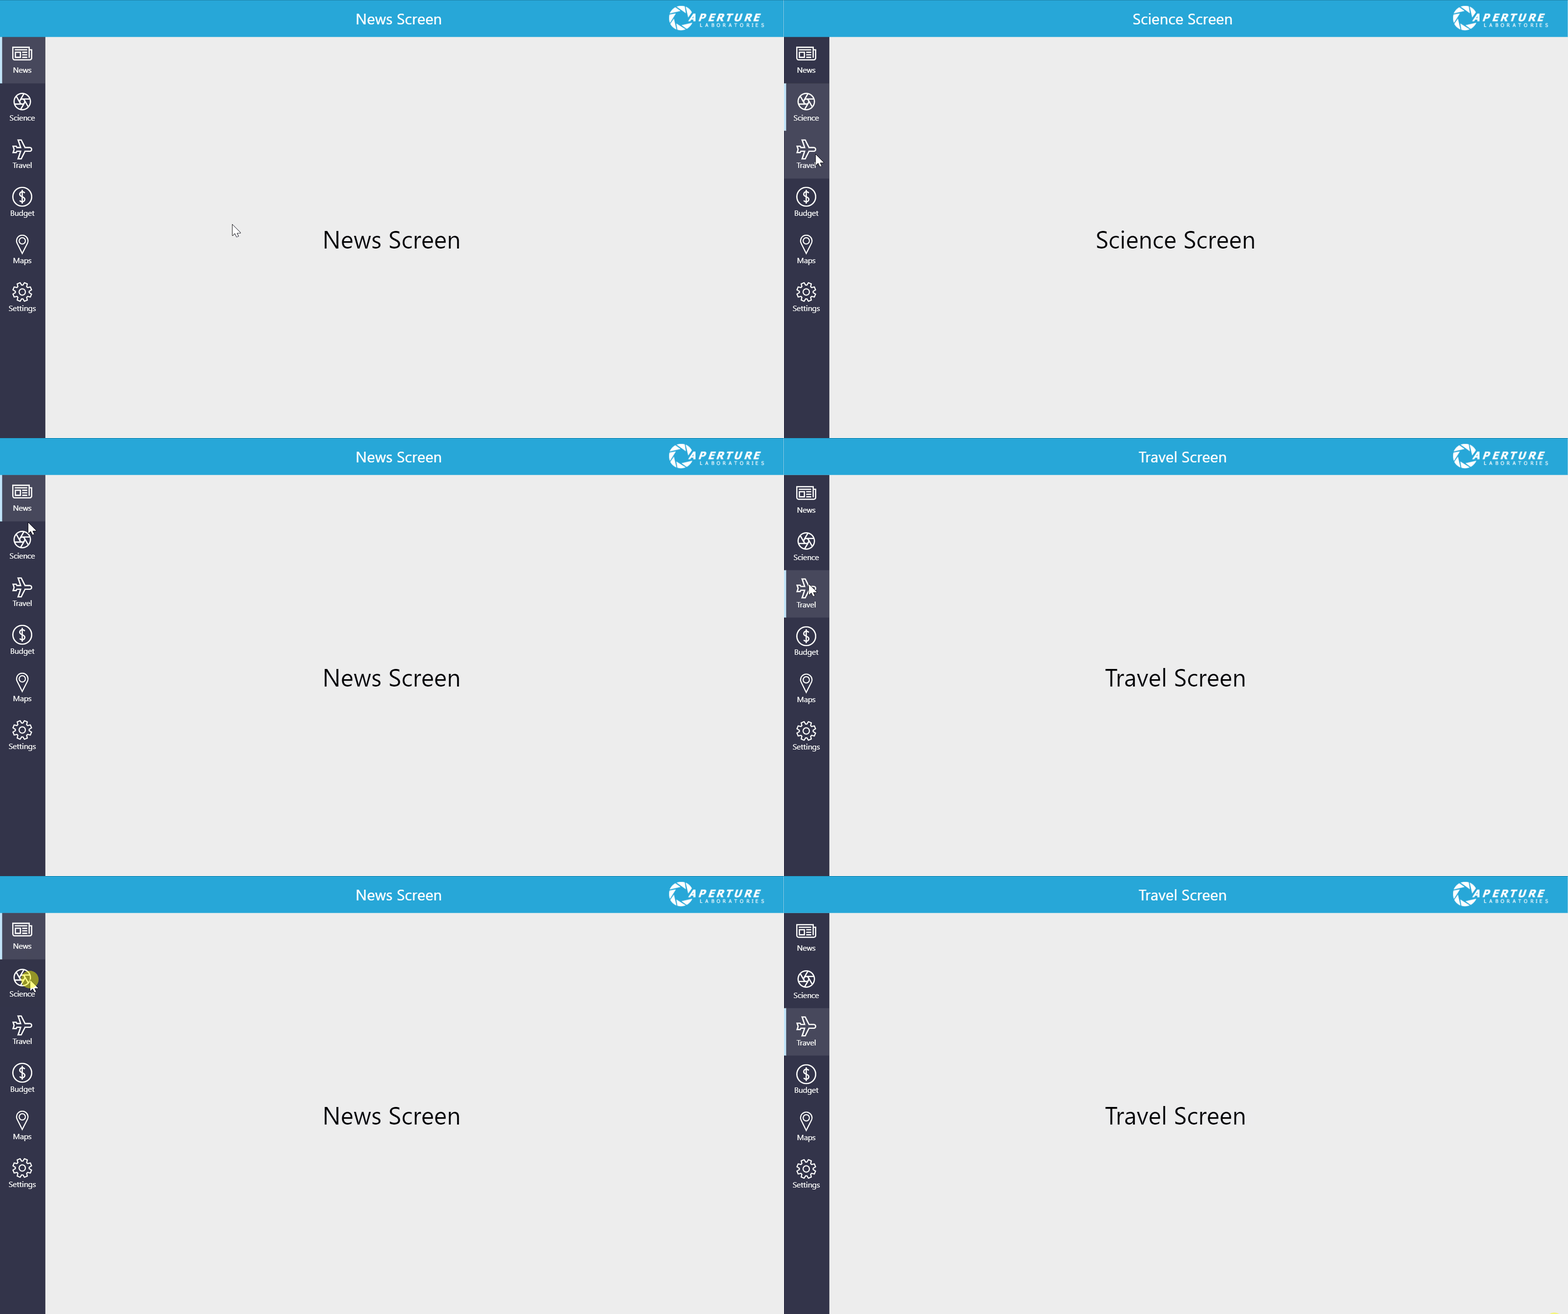
A stylish sidebar menu component that lets the user navigate from screen-to-screen. We’ll make it look just like the sidebar menu from Microsoft Teams!
What you’ll learn:
- Navigate using a Power Apps canvas component
- Table and Screen input property data types
3. Make A Power Apps Pop-Up Menu Component
What we’ll make:
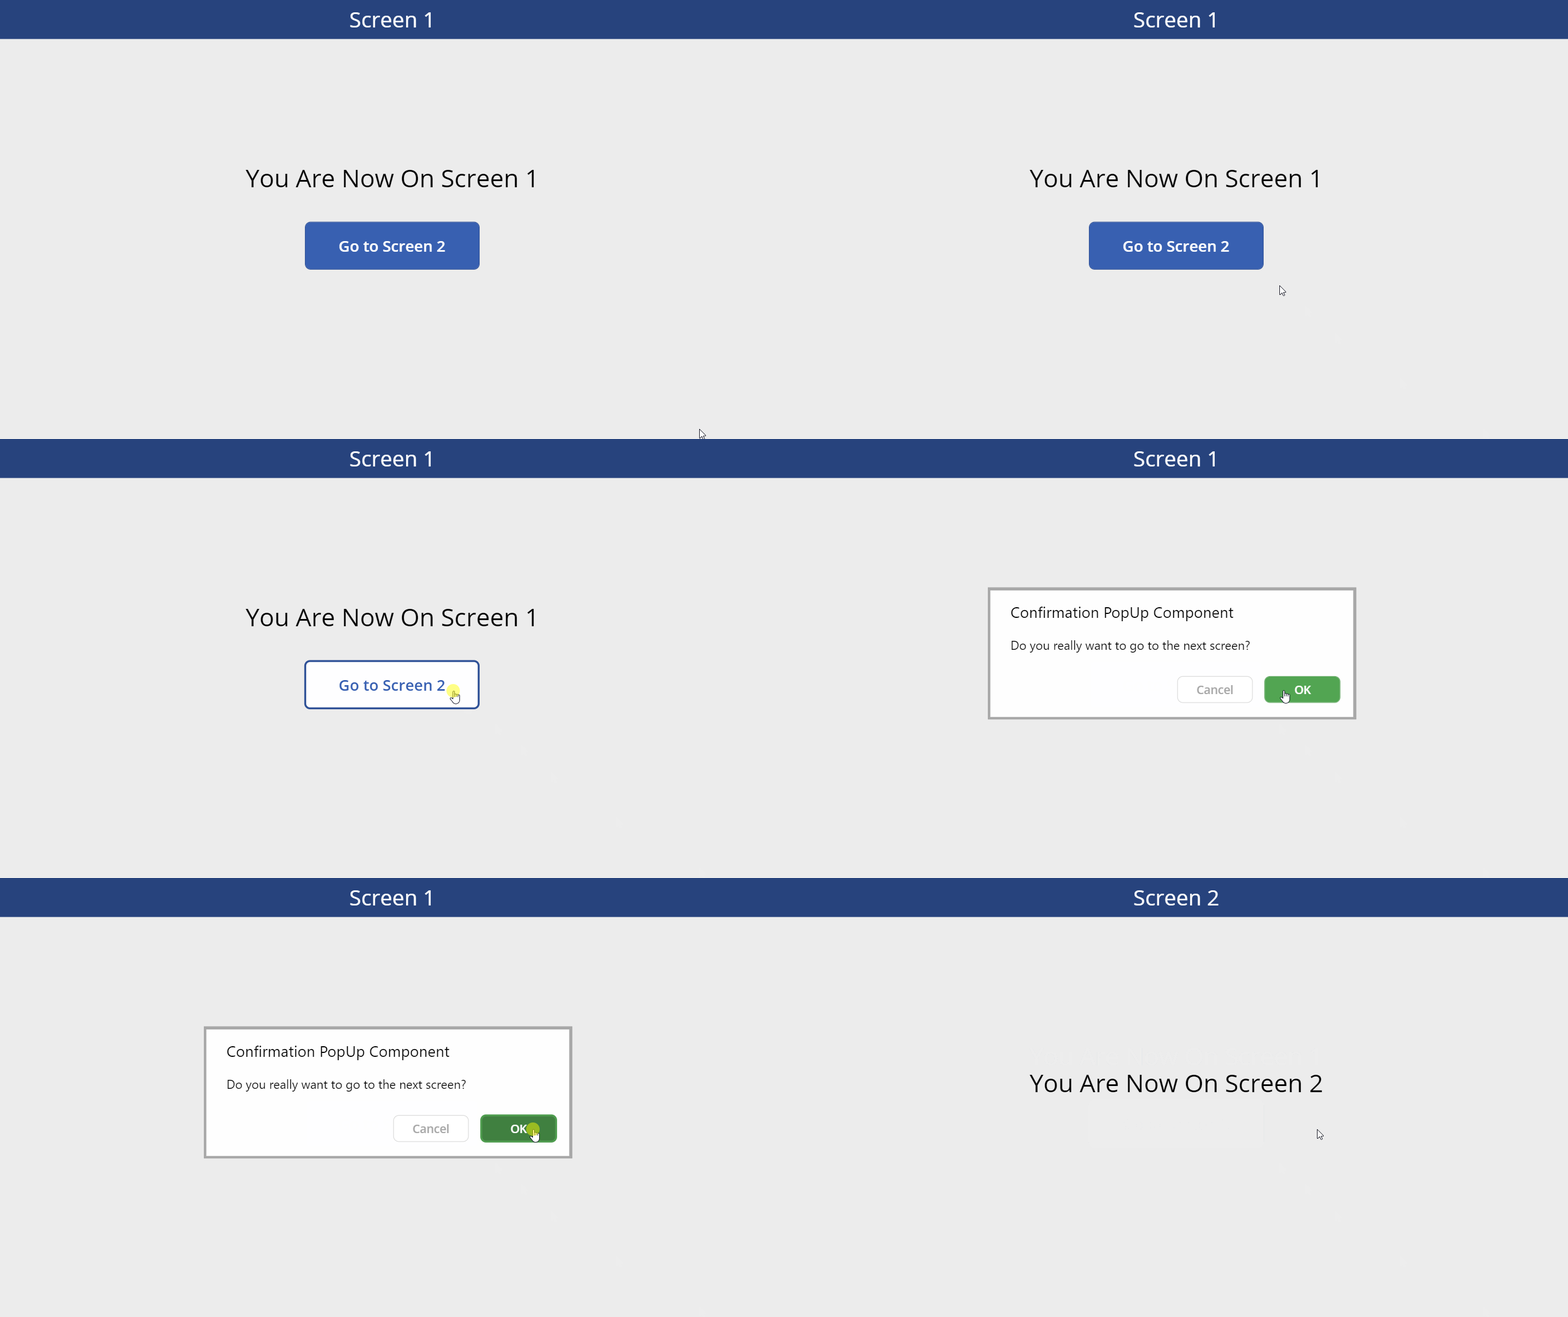
A pop-up menu with a message that asks the user to choose OK or Cancel. When the user presses OK they will go to the next screen. Or if the user presses Cancel they will remain on the current screen.
What you’ll learn:
- Add behaviour properties to a Power Apps canvas component (OnSelect, OnChange, OnVisible)
- Link a behaviour property to a button in a component
- Enable enhanced component properties in Advanced Settings
4. Make A Custom Function With Power Apps Canvas Components
What we’ll make:
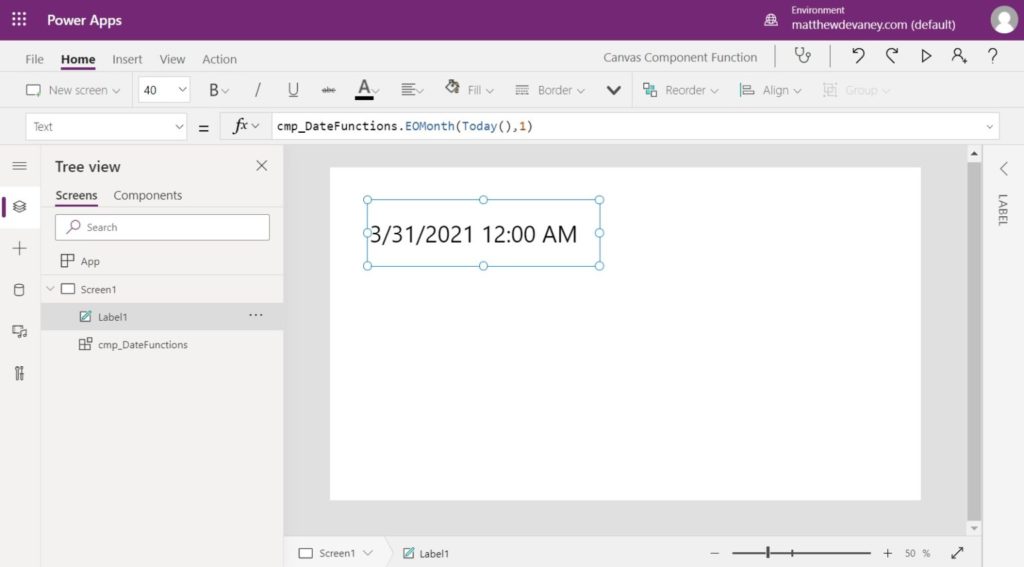
A custom Power Apps function called EOMonth that will calculate the last day of a given month. We will be able to re-use this custom function in other apps and screens just like the standard Power Fx functions that already come with Power Apps.
What you’ll learn:
- Build a custom Power Apps function
- Required and optional Power Apps function inputs
5. Make A Power Apps Component Library
What we’ll make:
A components library to store all of our components we’ve made together.
What you’ll learn:
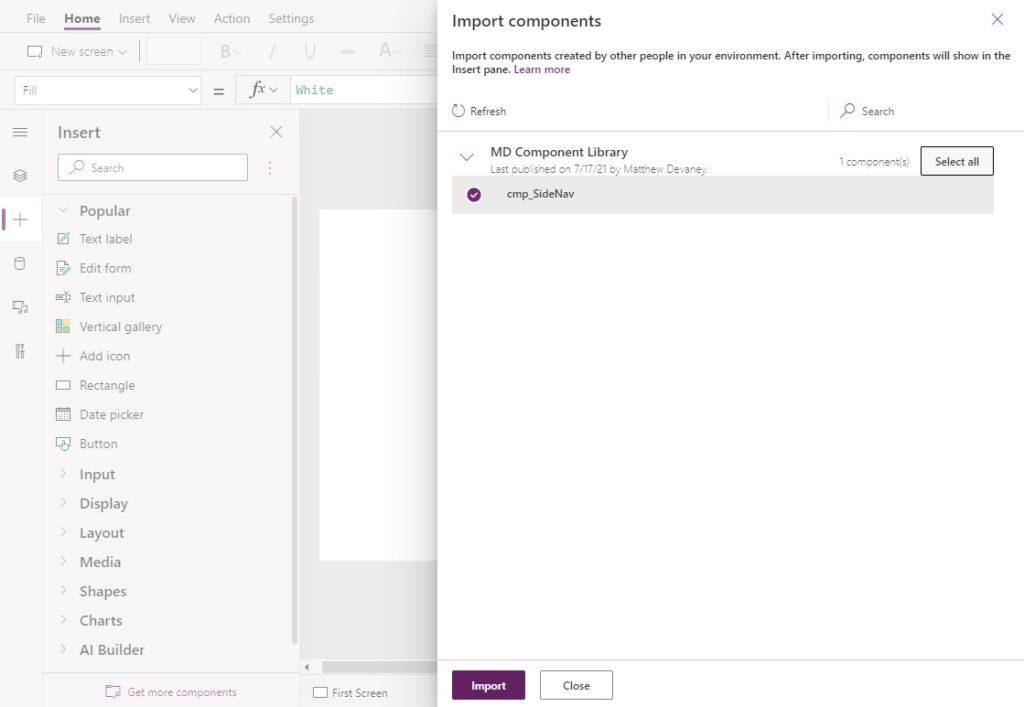
- Add a component to a Power Apps component library
- Import a component from a component library into an app
- Update a component in a library and refresh the changes across all Power Apps apps
Bonus Content: Free Power Apps Components
Now that you’ve made 5 Power Apps Components check out these other beauties I put together and download them for free.
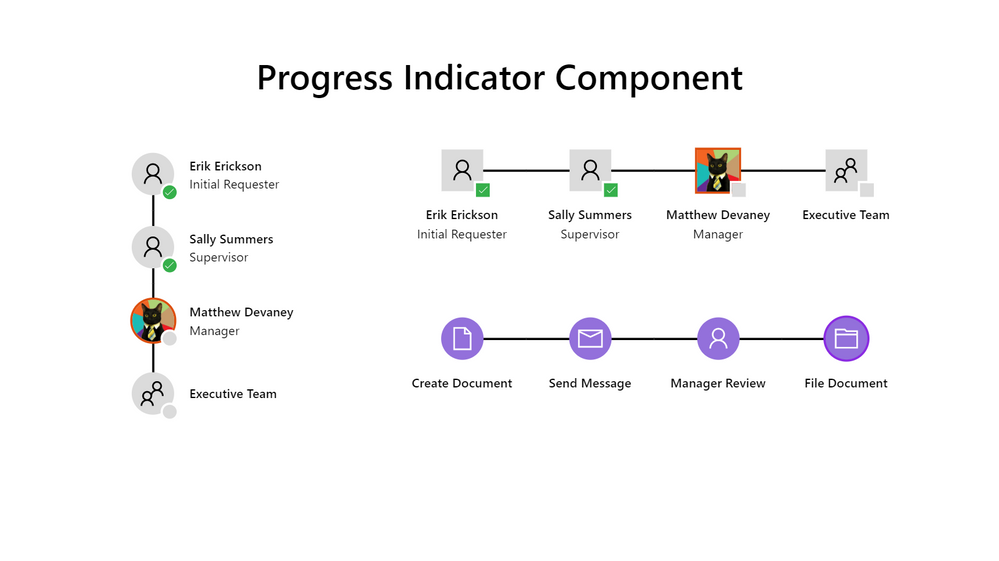
Progress Indicator Component
A progress bar can help user’s to understand the current status of a lengthy business process. I like to use this progress indicator component when working with approvals that involve multiple people. But it can also be used to show a single user’s progress towards completing a form.
Phone Number Input Mask
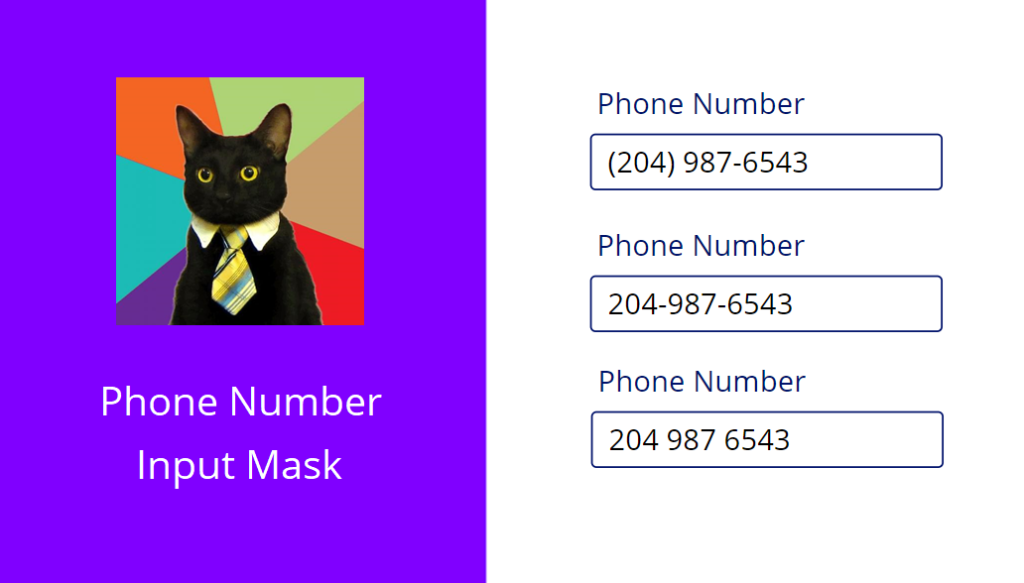
An input mask applies formatting to a text input after each keystroke. My phone number input mask component ensures phone numbers are always in the correct format. The user is restricted to only typing numbers and as they the formatting gets applied automatically. It’s my favorite Power Apps component I’ve ever made because it required very creative thinking and I haven’t seen another solution published that fully works.
Did You Enjoy This Article? 😺
Subscribe to get new Power Apps articles sent to your inbox each week for FREE
Questions?
If you have any questions about Learn Power Apps Canvas Components By Making 5 Components please leave a message in the comments section below. You can post using your email address and are not required to create an account to join the discussion.





Firstly, thanks for all the great material on this site. With the progress bar indicator, what happens if certain approvers are optional? (So the progress bar should be shorter as it’d bypass a said individual). Is there a way to make the progress bar dynamic & reflect that? Thank you
Stefany,
The progress bar Items property can be updated when an optional approver is added or removed. Make the datasource for the ITEMS property a collection. Then add or remove approvers as needed.
Thank you. And I digress, but loving all the cat pics. This blog has an amazing UI and UX!
Components that you are showing look very useful, especially progres bar indicator. Unfortunately it looks like it’s not possible to download it anymore from Microsoft forum after they updated it. Is there any chance that you can reupload it? Thanks
Hello Matthew! Thanks a lot for this content, it is helping me a lot. Please, could you, send an updated link to download the component samples? The Power Community links do not show the option to download the components anymore.